- No products in the cart.
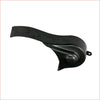
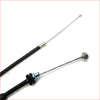
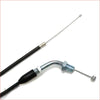
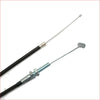
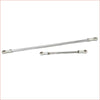
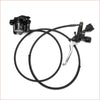
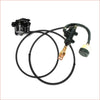
- Cables
-
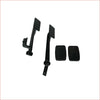
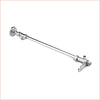
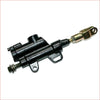
Controls
Controls
-
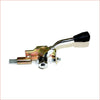
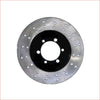
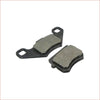
Brake system
Brake system
-
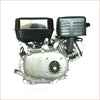
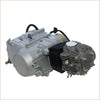
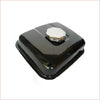
Engine
Engine
-
 270cc Stationary Engine - 9.0HP
$499.00
270cc Stationary Engine - 9.0HP
$499.00
-
 125cc Engine - Manual
$370.00
125cc Engine - Manual
$370.00
-
 32mm Chrome alloy exhaust muffler
$45.00
32mm Chrome alloy exhaust muffler
$45.00
-
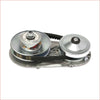
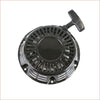 Pull starter recoil - GX160 GX200
$30.00
Pull starter recoil - GX160 GX200
$30.00
-
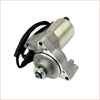 3 stud Starter motor for 50cc - 125cc
$45.00
3 stud Starter motor for 50cc - 125cc
$45.00
-
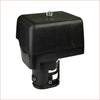 270cc Air filter housing + Filter
$40.00
270cc Air filter housing + Filter
$40.00
-
-
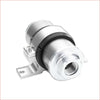
Fuel system
Fuel system
-
 Carburetor - Fit for GX160 GX200
$30.00
Carburetor - Fit for GX160 GX200
$30.00
-
 3.6L Petrol tank GX160 GX200
$35.00
3.6L Petrol tank GX160 GX200
$35.00
-
 Silver Fuel filter
$55.00
Silver Fuel filter
$55.00
-
 Fuel line - Black (Various sizes)
$19.00
Fuel line - Black (Various sizes)
$19.00
-
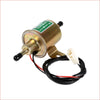 Electric fuel pump 150LPH
$35.00
Electric fuel pump 150LPH
$35.00
-
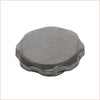 Petrol cap - Stationary engine(s)
$15.00
Petrol cap - Stationary engine(s)
$15.00
-
-
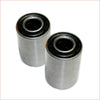
Clutch / Gearbox
Clutch / Gearbox
-
 Torque Converter 1" (25.4mm)
$199.00
Torque Converter 1" (25.4mm)
$199.00
-
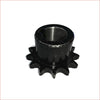 428 / 13T / 22mm Wet clutch cog
$27.50
428 / 13T / 22mm Wet clutch cog
$27.50
-
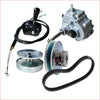
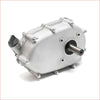 Wet clutch 2:1 reduction gearbox (GX240 - GX390)
$199.00
Wet clutch 2:1 reduction gearbox (GX240 - GX390)
$199.00
-
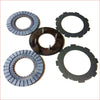 Wet clutch plates
$45.00
Wet clutch plates
$45.00
-
 Reverse gearbox + Torque converter
$384.00
Reverse gearbox + Torque converter
$384.00
-
 Wet clutch gasket - Large
$17.50
Wet clutch gasket - Large
$17.50
-
-
Chassis
Chassis
-
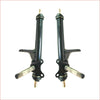
 Advanced front chassis w/ suspension
$379.99
Advanced front chassis w/ suspension
$379.99
-
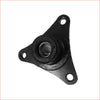
 15mm Ball joint stub axle - Disc brake (pair) x2
$110.00
15mm Ball joint stub axle - Disc brake (pair) x2
$110.00
-
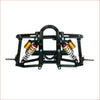
 Advanced Control arm set (x4)
$100.00
Advanced Control arm set (x4)
$100.00
-
 Middle frame chassis (Extended size)
$220.00
Middle frame chassis (Extended size)
$220.00
-
 Front bumper - Bull bar guard
$129.00
Front bumper - Bull bar guard
$129.00
-
 Roll cage
$280.00$250.00
-
-
Running gear
Running gear
-
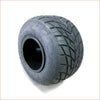
Wheels
Wheels
-
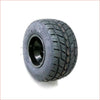 10x4.50-5" Semi slick front Alloy wheel (rim and tyre) Pair (x2)
$135.00
10x4.50-5" Semi slick front Alloy wheel (rim and tyre) Pair (x2)
$135.00
-
 10x4.50-5" Super slick front Alloy wheel (rim and tyre) Pair (x2)
$139.00
10x4.50-5" Super slick front Alloy wheel (rim and tyre) Pair (x2)
$139.00
-
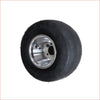 10x4.50-5" Super slick Front Alloy wheel (rim and tyre) Pair (x2)
$160.00
10x4.50-5" Super slick Front Alloy wheel (rim and tyre) Pair (x2)
$160.00
-
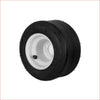 10x4.50-5" Super slick front Steel wheel (rim and tyre) Pair (x2)
$135.00
10x4.50-5" Super slick front Steel wheel (rim and tyre) Pair (x2)
$135.00
-
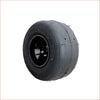
 11x7.10-5" Semi slick rear Alloy wheel (rim and tyre) Pair (x2)
$169.00
11x7.10-5" Semi slick rear Alloy wheel (rim and tyre) Pair (x2)
$169.00
-
 11x7.10-5" Super slick rear Alloy wheel (rim and tyre) Pair (x2)
$159.00
11x7.10-5" Super slick rear Alloy wheel (rim and tyre) Pair (x2)
$159.00
-
-
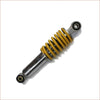
Suspension
Suspension
-
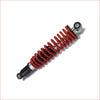
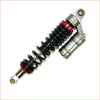 375mm Shock Suspension
$90.00
375mm Shock Suspension
$90.00
-
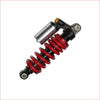
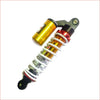 290mm Shock suspension
$55.00
290mm Shock suspension
$55.00
-
 220mm Shock suspension (Pair)
$50.00
220mm Shock suspension (Pair)
$50.00
-
 240mm Shock Suspension (Pair)
$90.00
240mm Shock Suspension (Pair)
$90.00
-
 300mm Shock Suspension
$90.00
300mm Shock Suspension
$90.00
-
 280mm Shock Suspension
$85.00
280mm Shock Suspension
$85.00
-
-
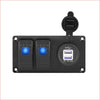
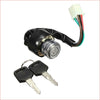
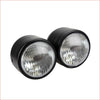
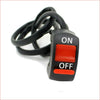
Electrical
Electrical
-
Accessories
Accessories
-
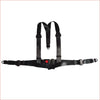 Seat belt - 3 point safety harness
$38.00
Seat belt - 3 point safety harness
$38.00
-
 Seat rail - 360mm
$95.00
Seat rail - 360mm
$95.00
-
 Aluminium chain guard
$25.00
Aluminium chain guard
$25.00
-
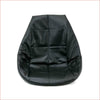 Bucket seat padded vinyl cover
$25.00
Bucket seat padded vinyl cover
$25.00
-
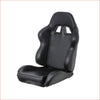 PU Leather Race seat (various sizes)
$140.00
PU Leather Race seat (various sizes)
$140.00
-
 50cm Foam protector Pair (x2)
$12.00
50cm Foam protector Pair (x2)
$12.00
-
-
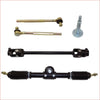
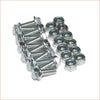
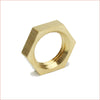
Fastener / Hardware
Fasteners / Hardware


ZX-K5 Assembly made simple: Get the family involved
Learn how to assemble your brand new ZX-K5 Forza Two-Seater Side-by-Side UTV Buggy with our clear, step-by-step build guide. From positioning the chassis and mounting the roll cage, suspension arms, seats, roof, and even fine tuning and balancing — this tutorial walks you through every stage of the assembly process.
Whether you're building with a mate or tackling it solo, we’ve laid out the instructions in a simple, easy-to-follow format to ensure a smooth setup and a confident first start.
Designed for first-time builders and seasoned off-road enthusiasts alike, this guide gets your ZX-K5 Forza ready for the track, the trails, and everything in between.
🛠️ Let’s Dive Into the Build
1. Unpack and Organize
Remove packaging and lift off the top half of the shipping cage.
Sort components into groups: seats, roll cage, wheels, suspension, steering, battery, and accessories.
2. Install Seats and Suspension
Slide the seats onto their mounting rods and press firmly into place.
Remove the temporary support bar and install the suspension shocks in its position.
3. Front-End Assembly
Fit the front bull bar and lift the buggy onto jack stands.
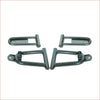
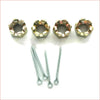
Install the front stub axles and lower control arms, securing them with castle nuts and split pins.
Install the front shock absorbers.
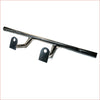
Attach the steering wheel with wheels facing straight.
4. Fuel System Setup
Mount the fuel tank using the supplied spacer sleeves for proper clearance.
Connect the vent line to the air box and the fuel line (with filter) to the carburetor.
5. Fit Fenders and Wheels
Install front and rear fenders before mounting wheels for easier access.
Identify wheels: front = tall and narrow, rear = wide and lower profile.
Mount all wheels, then inflate tires to the recommended PSI.
6. Battery and Roll Cage
Place the battery and connect positive (+) first, then negative (-).
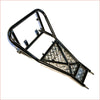
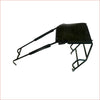
Install the main rear roll cage hoop and side connecting bars.
Hand-tighten all bolts, then torque once aligned.
Add the rear ABS fairing panels to finish the assembly.
7. Final Safety Check
Confirm all bolts are tightened.
Check tire pressure and wheel nut torque.
Ensure steering is centered.
Verify fuel lines and battery connections are secure.
